Events
Navigate: Content > Events
The Events page lists event sessions you have created or have access to. It is used to review upcoming events, open event details, download event data, or start creating a new event.
Events are trainings held at a specific time, usually with a limited number of participants. They can be online, classroom-based, or both.
In this section
- Current events – review ongoing and near-term events.
- All events – review all accessible events.
- Columns – understand the event table columns.
- Actions – download events or create a new event.
- Editing events – open event content and manage event-specific settings.
- Event details – open a specific event to manage participants, attendance, waiting-list entries, cost, and cancellation.
Current events
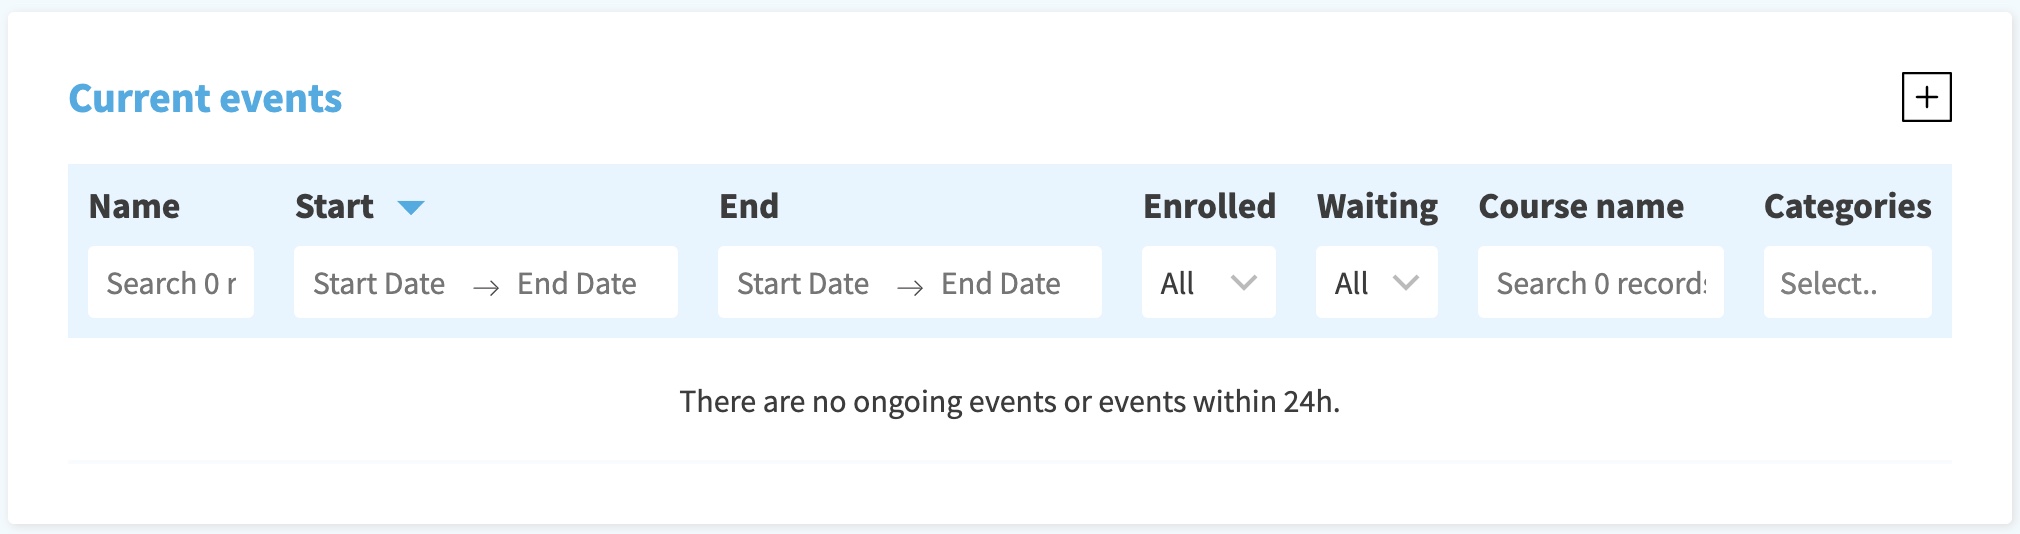
Current events shows active events that are happening now or soon and are inside your access permissions.
All events
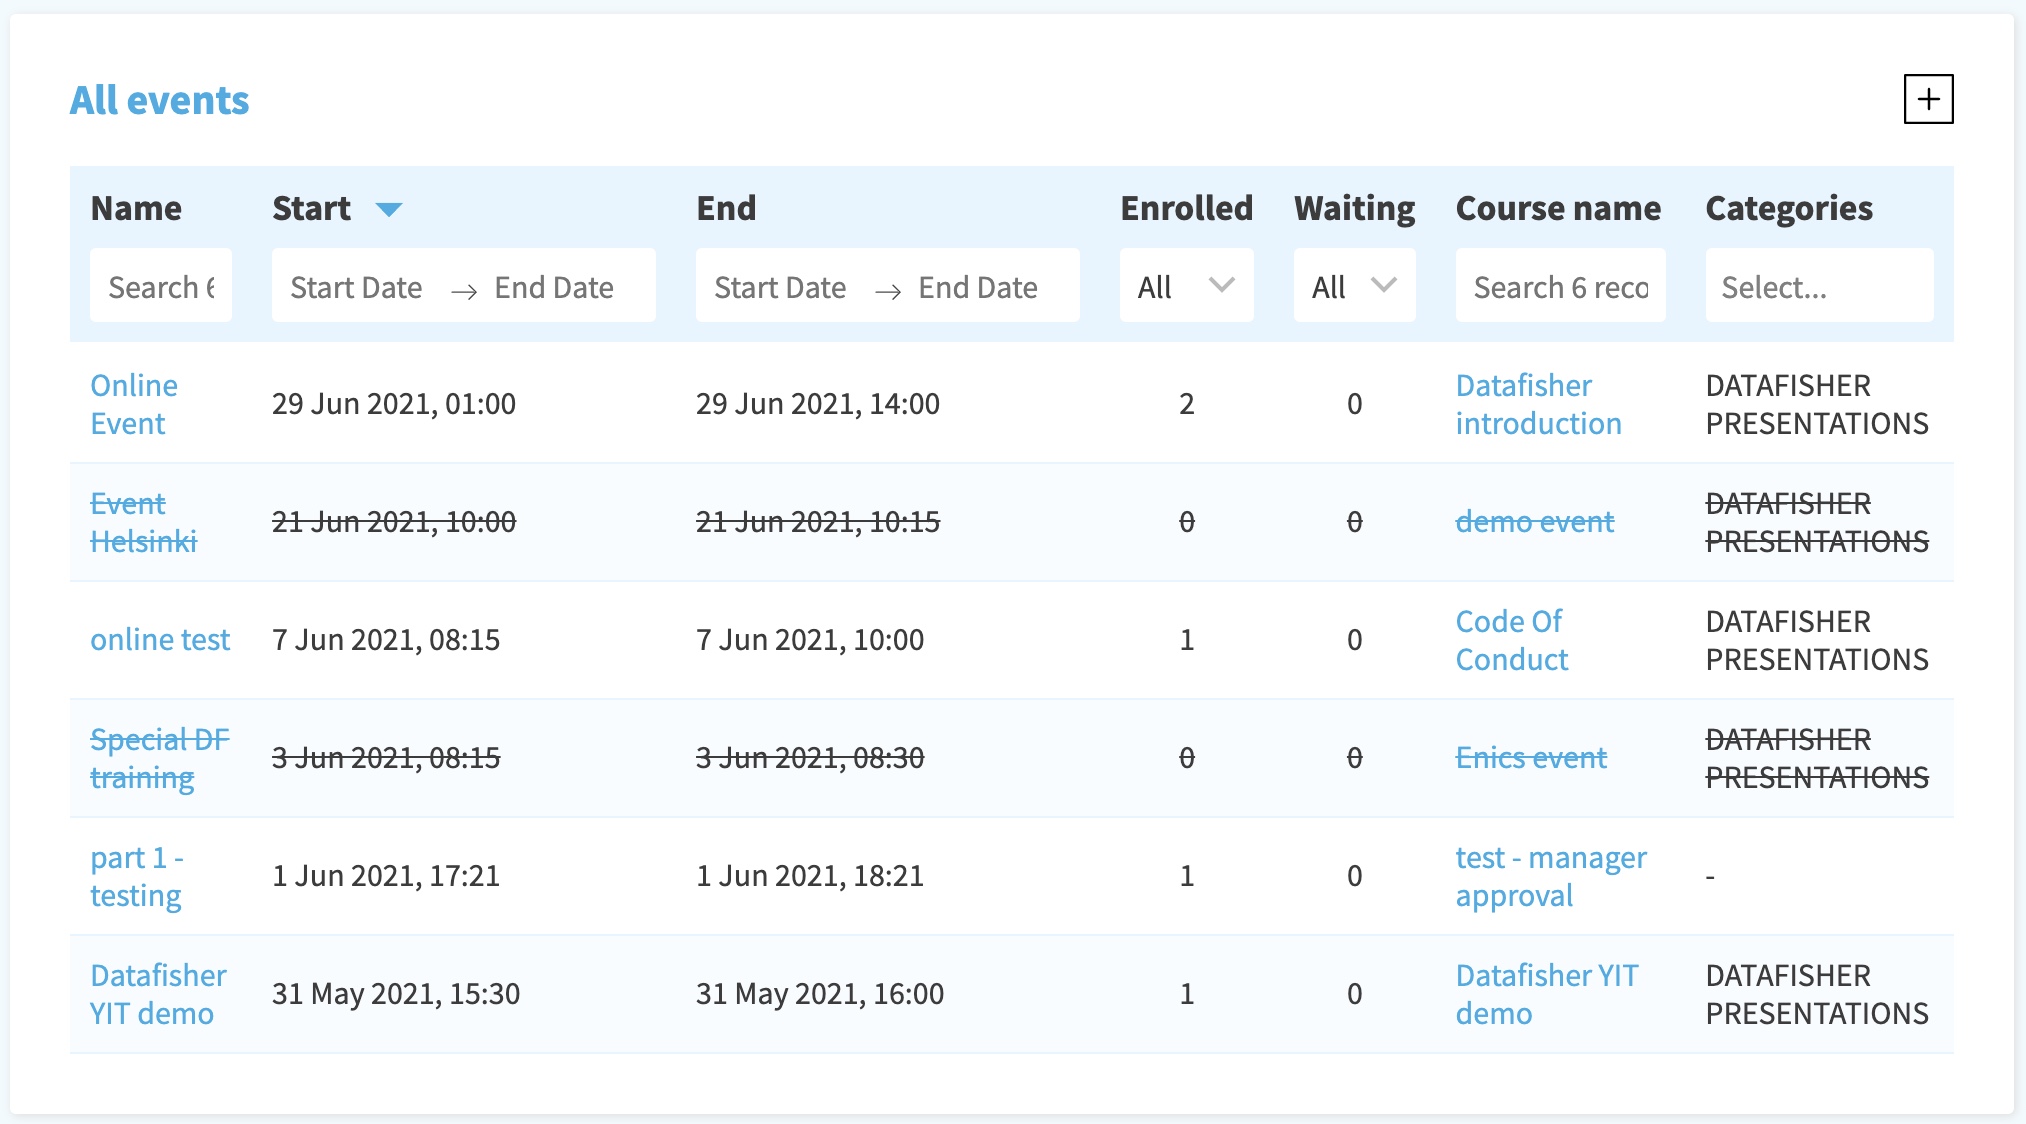
All events shows accessible events more broadly, including events outside the current-events window.
Columns
Both event tables show columns such as Name, Start, End, Enrolled, Waiting, Course name, and Categories:
- Name – the event name. Open it to view or edit the event.
- Start – the event start time.
- End – the event end time.
- Enrolled – the number of enrolled The fallback content to display on prerendering.
- Waiting – the number of learners on the The fallback content to display on prerendering.
- Course name – the content item that the event belongs to.
- Categories – the The fallback content to display on prerenderingassigned to the content.
Inactive or cancelled events can be visually marked in the list.
Actions
Event-specific actions include:
- Download – download the event list as an Excel file.
- Add – start creating new event content.
Editing events
Open an event from the Events page or open the related content from the content list.
Event-specific settings are managed on the Events tab of the content editing view. General content details are managed through Add and Edit.
Event details
Opening a specific event can show Enrolled, Waiting list, Cost, Options, and General information tabs. These tabs are used for event participants, attendance, waiting-list actions, event cost data, manual participant enrollment, event cancellation, and the same event settings described in Events tab.